Metal castings are usually inspected by normal X-ray images but the enhanced contrast of X-ray CT allows clear identification of the location, type and potential effects of defects without any doubt.
The example here was a vehicle Cam cover, the images illustrate the largest defects, and for potential clients interested in this inspection service we can provide for this example the generated CAD file of the surface and the internal defects (included in the CAD file with the internal and external surfaces of the object). We can also provide the image stack of slice images, which is typically used for self-diagnosis of defect areas by the inspection engineer. The scan, CAD file and slice image stack was made in 1 hour.
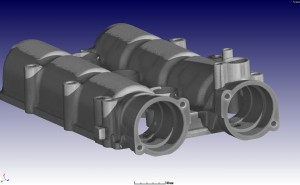
The 3D surface view:
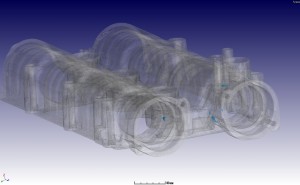
Transparent 3D view with largest selected defects in blue:
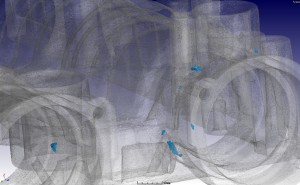
Close-up view of the defect region (voids in blue):
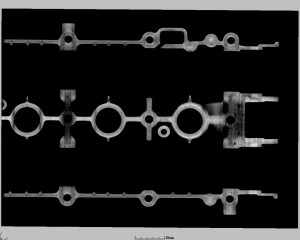
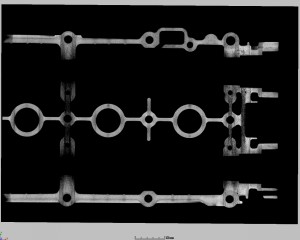
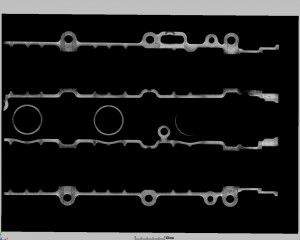
Selected slice images – roughly 1000 such images make up the total image stack for self diagnosis / quality inspection by the engineer:

 Follow