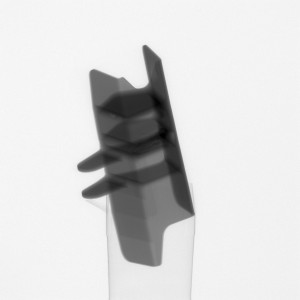
In this example a typical 3D X-ray analysis is presented of some radio-controlled airplane engine parts. Thanks to Clinton from Micton Hobbies in Somerset West, for loaning us the parts. Here are photos of the parts: The engine casing is a light metal casting, containing pores/defects. The 3D images clearly show all the defects down …
Category: Metals
Jan 06
Cracked Bolt
- By Prof Anton du Plessis in Metals
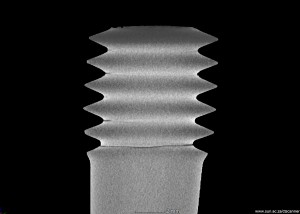
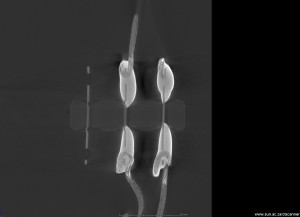
Two of the four bolts holding the engine of a 5 year old car of a well known German brand broke off, apparently after driving over a Johannesburg speedbump. The customer sent the broken bolt for a microCT scan for further inspection, with images showing the results below (cracks are black lines). Clearly, there are …
Nov 04
Oil pump
- By Prof Anton du Plessis in Metals
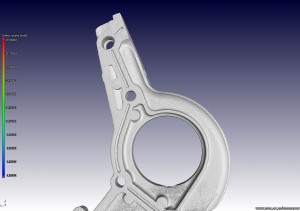
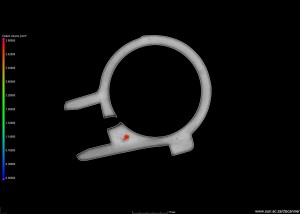
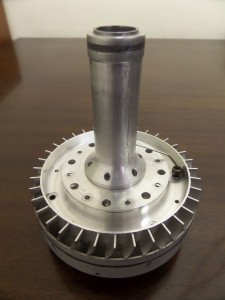
One part of an oil pump was scanned to demonstrate the quality of 3D information, which can be used for quality inspection or reverse engineering. See images below of slice and 3D images of internal porosity. Clearly there is one very large pore (coloured in red) which is shown in slice images also. Close-up of …
Nov 04
Automotive casting – water pump
- By Prof Anton du Plessis in Metals
This example shows a water pump, with a porosity/defect analysis performed on one region of the casting. This shows how easily casting porosity can be identified and quantified (each pore has its void volume and other parameters calculated). The analyzed region has its surface data also available for output to STL format, for reverse engineering …
Jul 22
Wristwatch
- By Prof Anton du Plessis in Metals
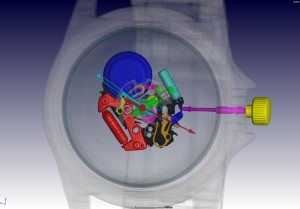
A wristwatch is a good everyday example of what can be done with this technology, with good scan quality and enough analysis time. A normal digital X-ray image movie shows the capability of live X-ray imaging, where you can see the watch tick: 04072014_02 Watch X-ray 2 7FPS~4 All the X-ray images in a scan …
Jun 30
Titanium aerospace investment casting
- By Prof Anton du Plessis in Metals
In this work, a Titanium aerospace investment casting was analyzed by X-ray micro Computed Tomography (X-ray microCT). The geometry cast and evaluated was supplied by Boeing, and was supplied to CSIR as a design file. This geometry is used to benchmark titanium casting processes and suppliers against aerospace standards. Key features of interest are internal …
Jun 19
Bullet
- By Prof Anton du Plessis in Metals
This simple example demonstrates two things: 1. It is possible to penetrate and successfully scan a small dense object such as a bullet (containing lead) 2. Accurate dimensional measurements are possible using metrology tools, allowing for example forensic analysis of such samples, ie. determining the caliber or make of the bullet MOVIE: Analysis performed in …
May 19
Nondestructive analysis of solder joints
- By Prof Anton du Plessis in Metals
Here we show solder joints and wire connections inside a large product, imaged nondestructively. X-ray CT is cost effective for testing all such solder connections even in large parts.
Jan 10
Light bulb
- By Prof Anton du Plessis in Metals
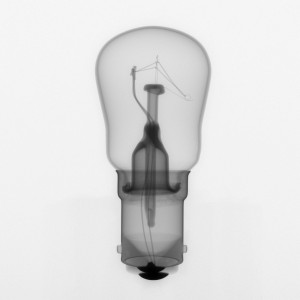
A simple example of the X-ray imaging capabilities of this technology is with a normal filament-type light bulb. A digital X-ray image (obtained in a few minutes) is shown, providing useful information on the location of different materials and providing an inside view, though in 2D only. This type of imaging is a standard NDT …
Jan 28
Example CT Report: Non-destructive testing of various components for cracks, porosity and inclusions
- By Prof Anton du Plessis in Metals
NASA test report_CT1301 This report includes results from tests of various mechanical components, and aims to show the type of results from CT scans. The report format is standard for all work.
CT Scanner facility
3D X-ray, X-ray microscopy, Industrial CT, Non-Destructive Testing Services

 Follow