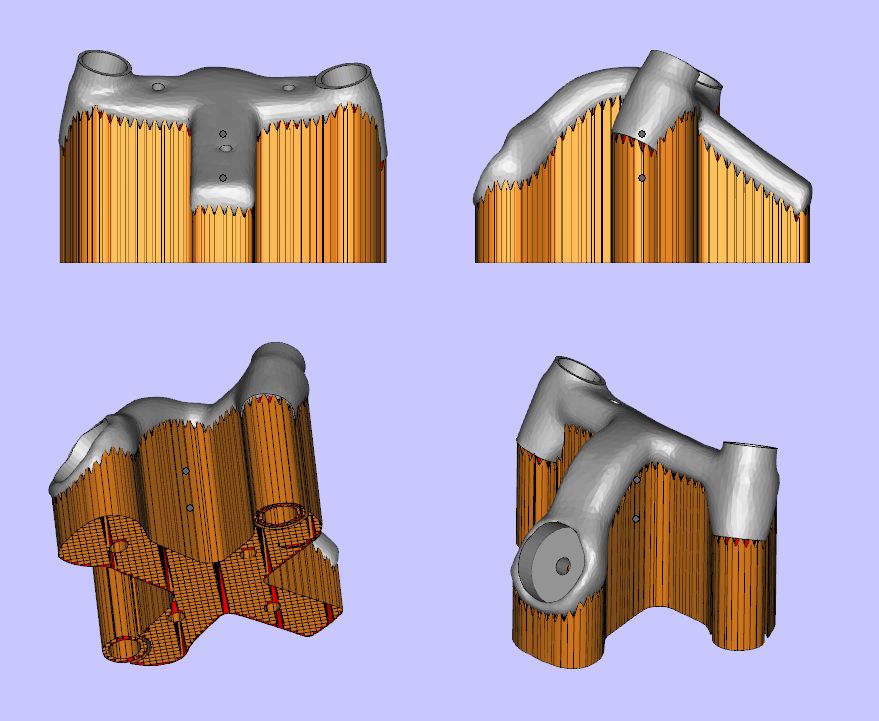
Custom medical implants can be made to suit an individual patient using additive manufacturing (3D printing) technology. Below is the design file of the custom titanium implant including support structures. The part was designed and built at the Centre for Rapid Prototyping and Manufacturing (CRPM) at the Central University of Technology (CUT) in Bloemfontein, South Africa. It was reverse engineered from medical CT data to fit the patient. This case study is specially made for World Metrology Day 20 May 2015.
These additive parts need stringent quality controls, which is provided by 3D X-ray inspection. Two aspects are important: 1. dimensional accuracy can be tested – much like a Coordinate Measurement Machine (CMM) – just faster and with a much higher density of surface points; and 2. defect analysis to ensure there are no major defects / porosity present.
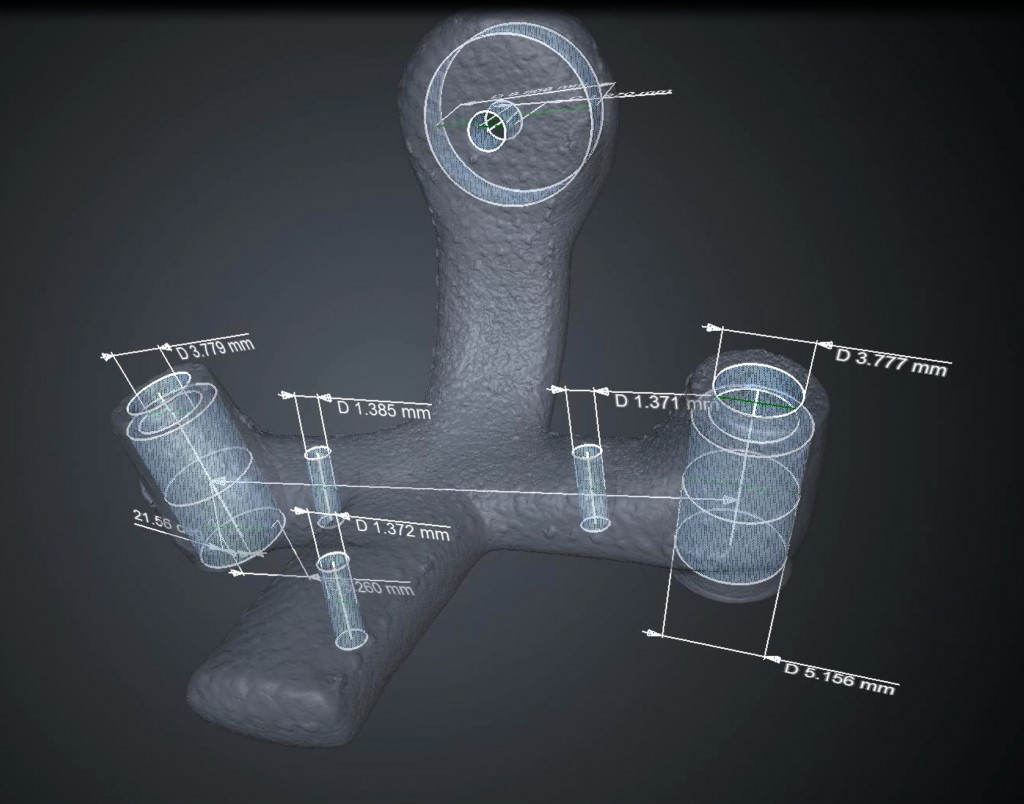
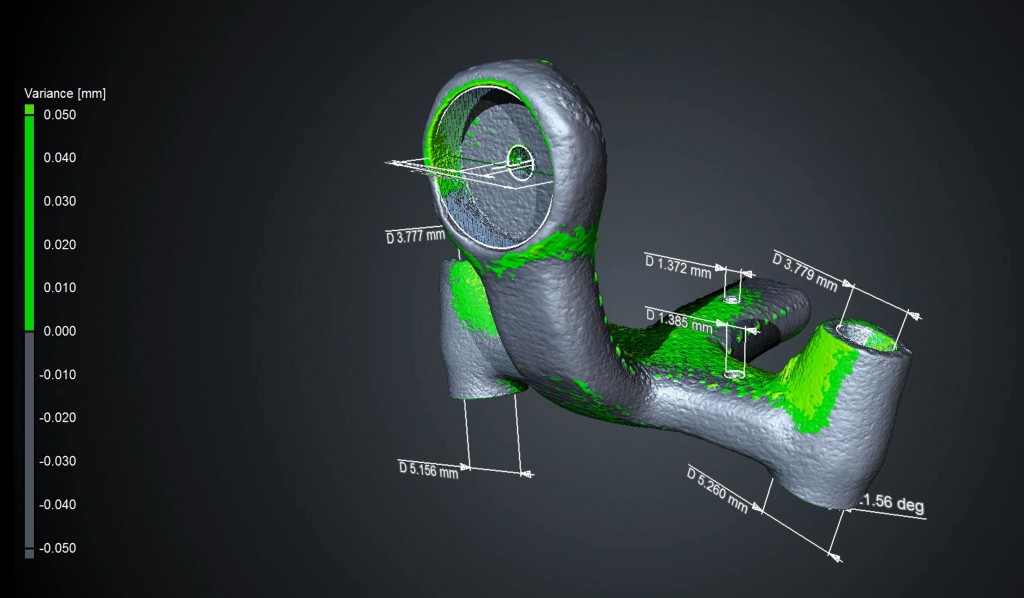
With regards to dimensional measurement, X-ray CT works very much like a Coordinate Measurement Machine (CMM) – just faster and with a much higher density of surface points. The images below show some advanced metrology tools applied to the implant to measure critical hole diameters using best-fit cylinders to the inner surfaces, and distances between holes. Any dimensional measurement required for an engineering acceptance criteria can be tested. A part-to-CAD comparison shows up variances clearly in 3D and all the above is included in a video which can be seen here: https://www.youtube.com/watch?v=L7XQNzvts38
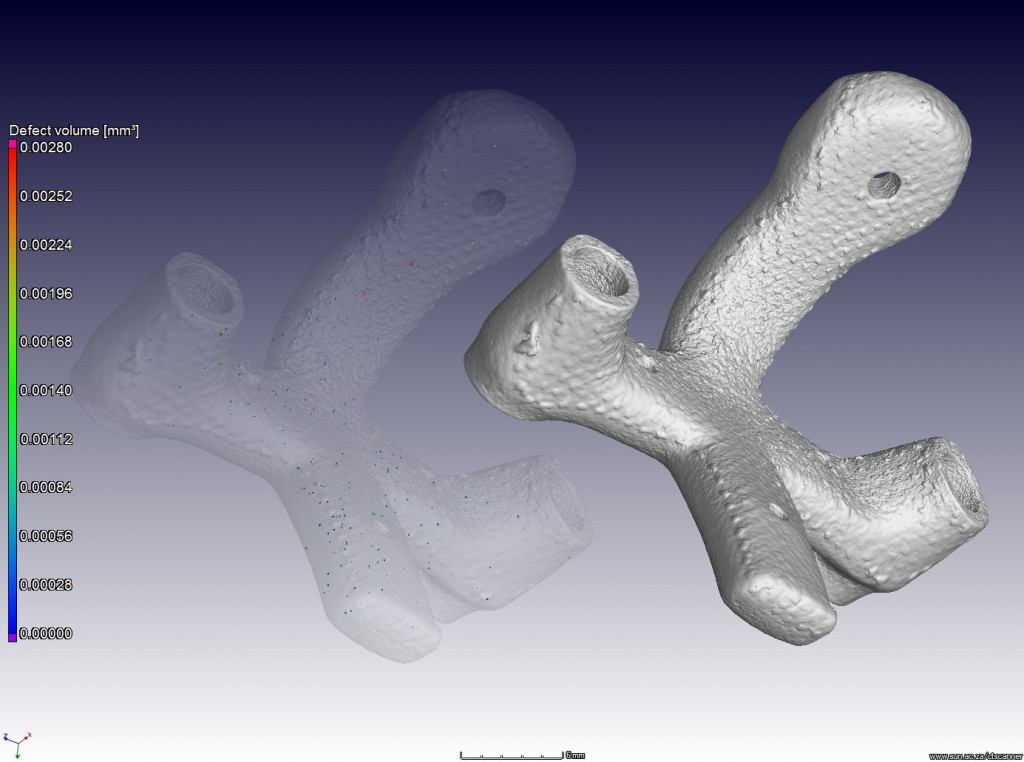
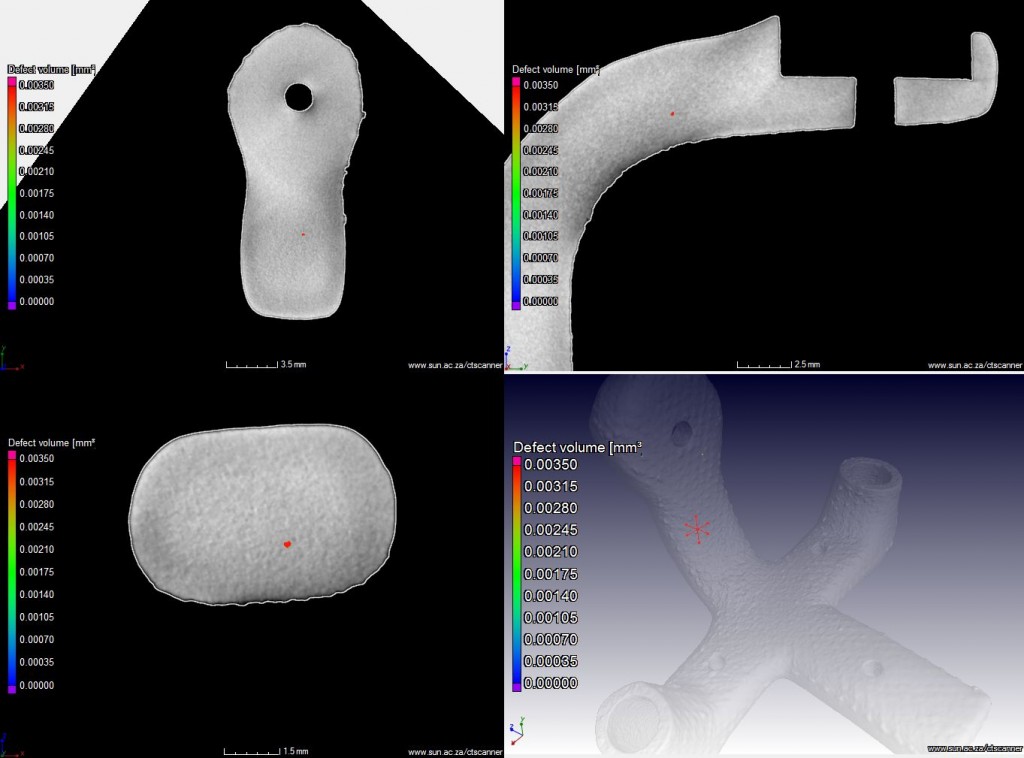
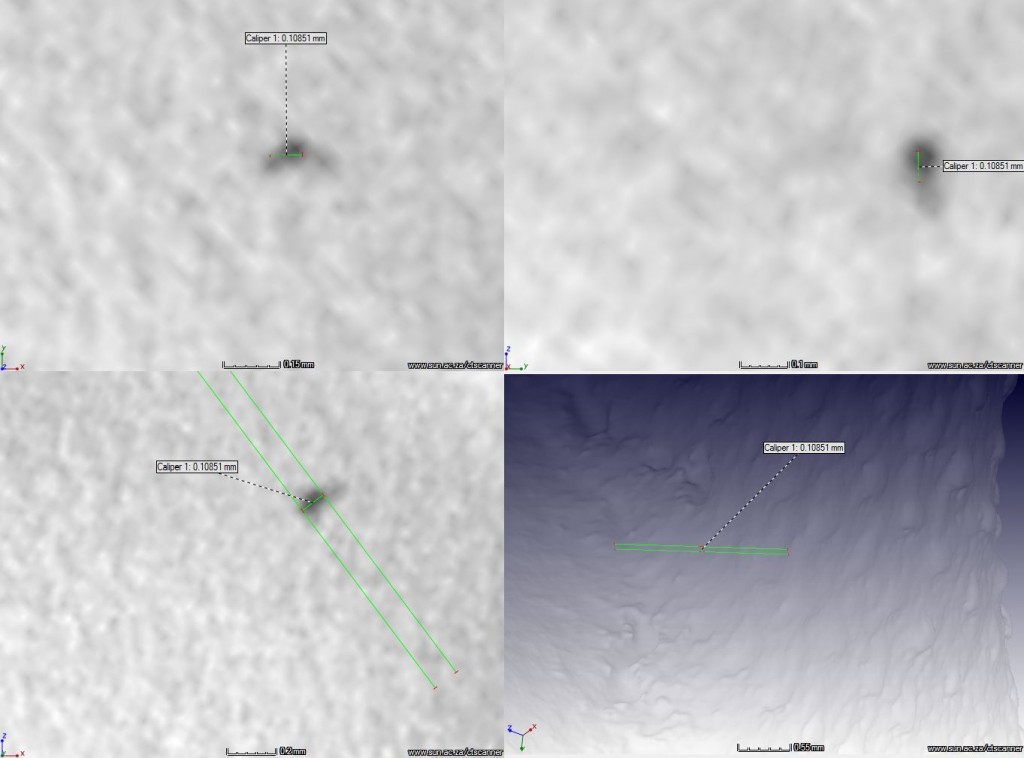
For porosity analysis, the automated analysis gives a 3D total average porosity less than 0.0005 %, yet some very small pores are still identified. It is useful to know that these small pores are not clustered in one region or that any large defects are present. The images below clearly show there are no major defects or clustering.

 Follow