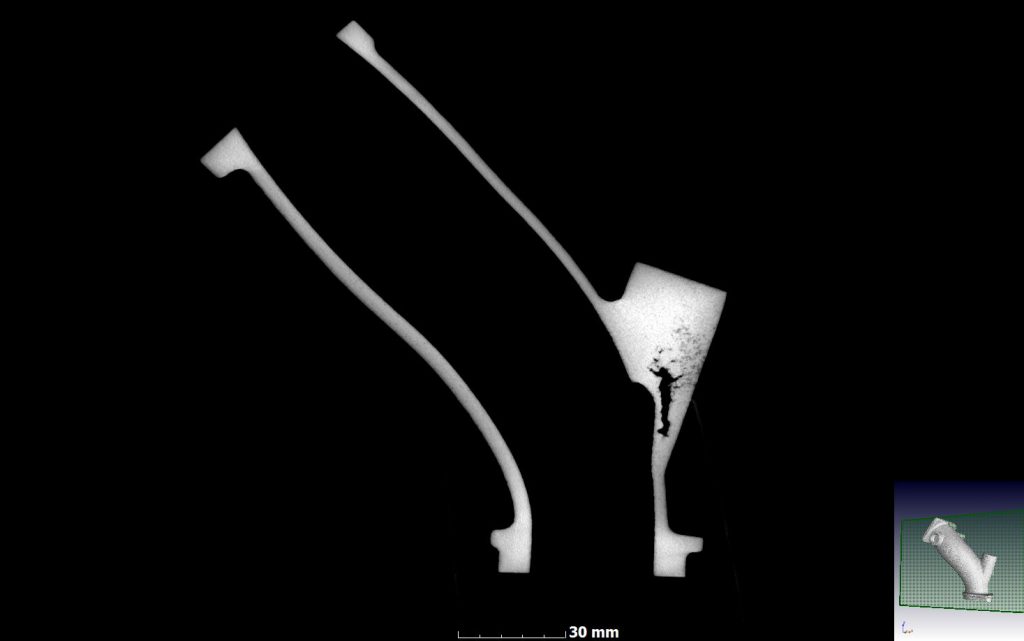
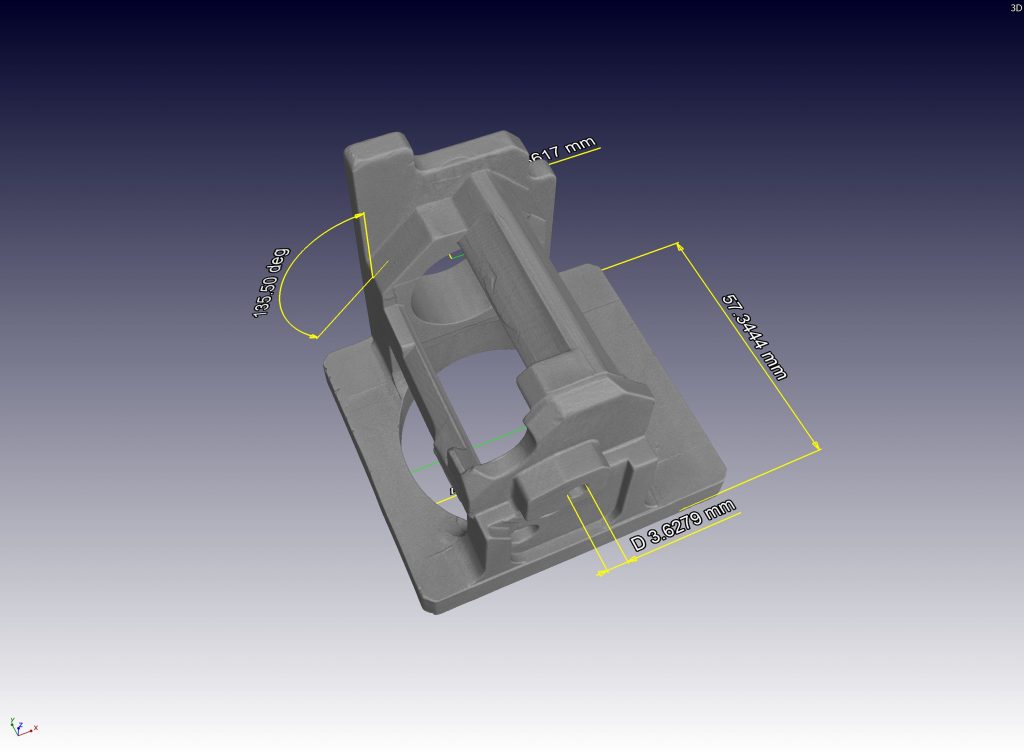
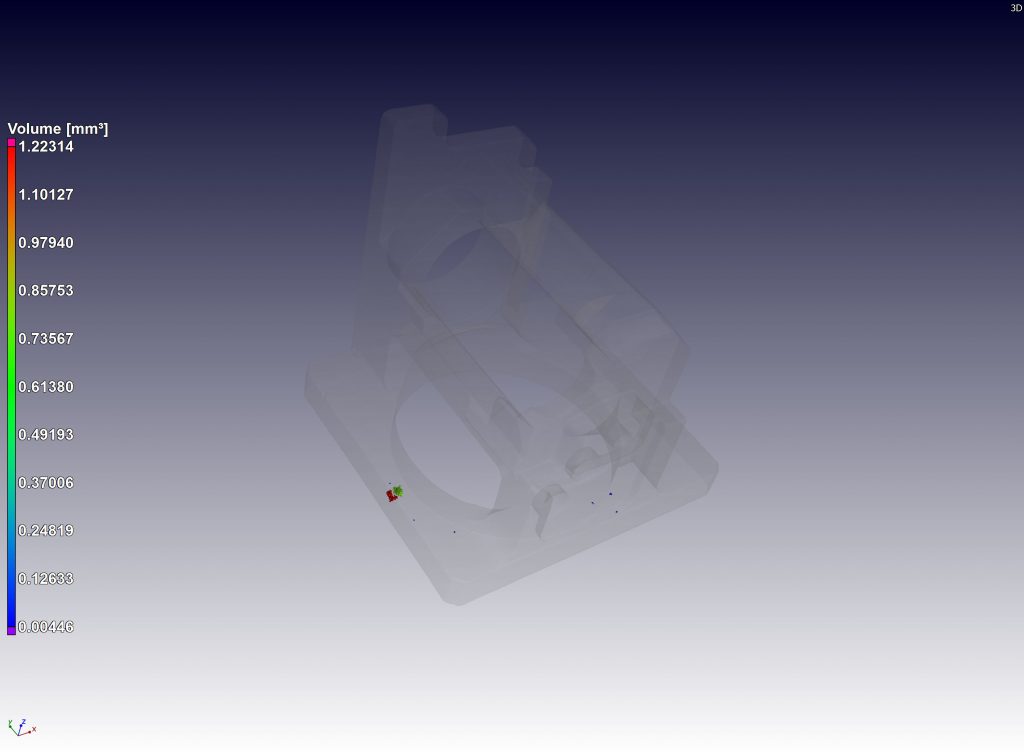
Metal castings typically contain porosity which can affect the strength and lifetime of the part. Excessive porosity can be reduced by optimizing the casting parameters, and the best way to do this is to visualize and quantify defect sizes by X-ray microCT. It is also possible to routinely check castings to ensure nothing changes in your process, eg. you can select every 100th part and subject it to scanning. Of course we could also scan all your parts, the method is entirely non-destructive and therefore valuable for high-performance applications to make 100% sure there are no porosities present. Below are a series of images and videos demonstrating casting porosity analysis in two parts, both light metal alloys of 50 and 150 mm diameter.
This presentation in PDF has embedded videos, please view in Adobe and not in internet browser to see the videos (save to disk and open):
SG le Roux – Casting Presentation shorter3
In case the PDF file with embedded videos does not work, see below selected images and videos from these two casting examples:


 Follow